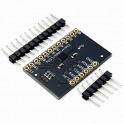
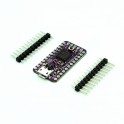
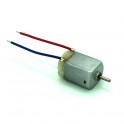
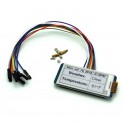
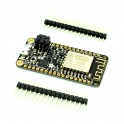
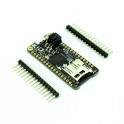
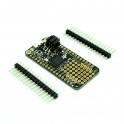
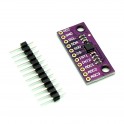
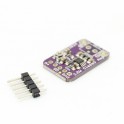
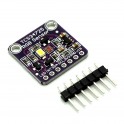
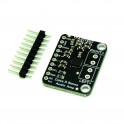
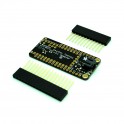
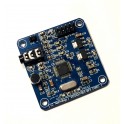
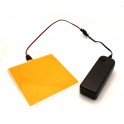
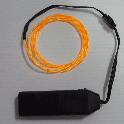
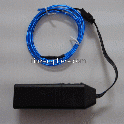
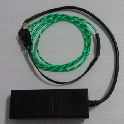
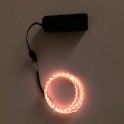
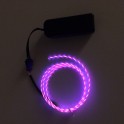
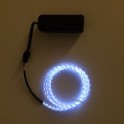
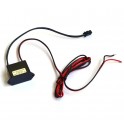
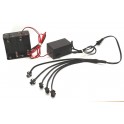
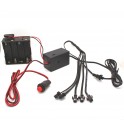
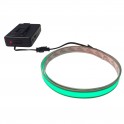
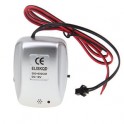
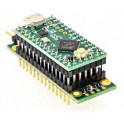
The Firecricket is an Arduino compatible light, sound, and motion controller featuring a 48MHz 32-bit ARM Cortex M0+ microcontroller w/ 16K of RAM, a MicroSD slot so you can store sound effects, bitmaps, and configuration files, a 2.5W audio amplifier, and an N-MOSFET w/ flyback diode for driving high current inductive loads, like vibration motors or 3W LEDs.
Arduino Zero compatible featuring a SAMD21E17A ARM Cortex M0+, N-FET w/ flyback diode for driving high power inductive loads, 2.5W audio amplifier, and MicroSD slot!
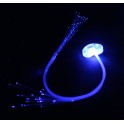
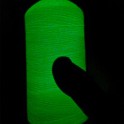
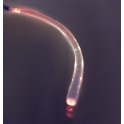
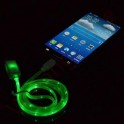
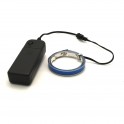
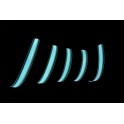
Use it to add lights and sounds to a toy car or space ship. Or, make a favorite stuffed animal talk and "purr" with a vibration motor. Or, place it in a chest with a limit switch on the lid and a high power LED and have it play the fanfare from the Legend of Zelda whenever it's opened. The possibilities are endless!
And being open-source, you're free to modify it as you wish and integrate it into your own designs – without ever needing to pay any royalties or licensing fees!
Technical Details:
- Microcontroller: Atmel ATSAMD21E17A ARM Cortex M0+
- Clock speed: 48 MHz
- Operating voltage: 3.3V
- I/O pin limits: 3.3V, 7 mA
- Digital I/O pins: 12 w/ 10 PWM channels + 2 dedicated I2C pins w/ pullups
- Analog inputs: 3 12-bit ADC channels
- Analog outputs: 1 10-bit DAC
- Flash (program) memory: 128 KB
- RAM: 16 KB
- Voltage regulator: TLV702, 3.5V – 5.5V input / 3.3V, 300mA output
- Dimensions: 1.65 x 1.0″ (42mm x 25mm)
- Amplifier: TPA6211A1, 2.5W into 4Ω w/ 5V supply
- N-FET + Flyback diode: FDN337N + SS24FL, 30V 2A max
Installation Instructions:
- To make the Firecricket work with the Arduino IDE, open the File menu and select Preferences. Then, in the Additional Boards Manager URLs section, place a comma after the last entry, and add the following link: http://rabidprototypes.com/arduino/package_rabidprototypes_index.json
- Once done, open the boards manager, which can be found on the Tools->Boards menu, scroll down to Rabid Prototypes, select the entry, and hit Install.
- You should also install the board files for the Arduino Zero if you have not already done so. These board files contain a USB driver that is necessary for the Firecricket to function.
- Finally go back to Tools->Boards, scroll down to the bottom of the list, and pick the Tau/Firecricket.
- Once done, you should be ready to program the board!
Troubleshooting
- If you are unable to program the board, first make sure you have the correct board selected on the Boards menu. Then check that the correct port is selected on the Ports menu.
- If that doesn't work, try double clicking the Reset button on the board. That forces the bootloader to stay on instead of entering your sketch, which may be stuck in a loop where it is unable to check the USB port for connection attempts from the IDE.
Documentation: http://rabidprototypes.com/Firecricket/Firecricket_demo.zip
The Adafruit libraries the demo utilizes can be downloaded through the library manager in the IDE, while the SDFat lib required by the SamdAudio library included with the demo can be found here: https://github.com/greiman/SdFat